
The first week with a new client sets the tone for the whole project. If it’s calm and clear, the rest usually goes well. If it’s messy, you spend the next two months chasing files, passwords, and decisions.
A good onboarding process fixes this. It doesn’t need software or a big budget. It needs one checklist you follow every time.
Here’s a simple one for freelancers and small agencies, plus a welcome email you can copy.
Why onboarding matters
Most project problems start in the first few days:
- The client doesn’t know what happens next.
- You’re still missing logins, files, or approvals.
- Nobody has said who makes the final decision.
- Both sides have a different idea of what’s included.
Each of these is easy to prevent at the start and slow to fix later.
The checklist
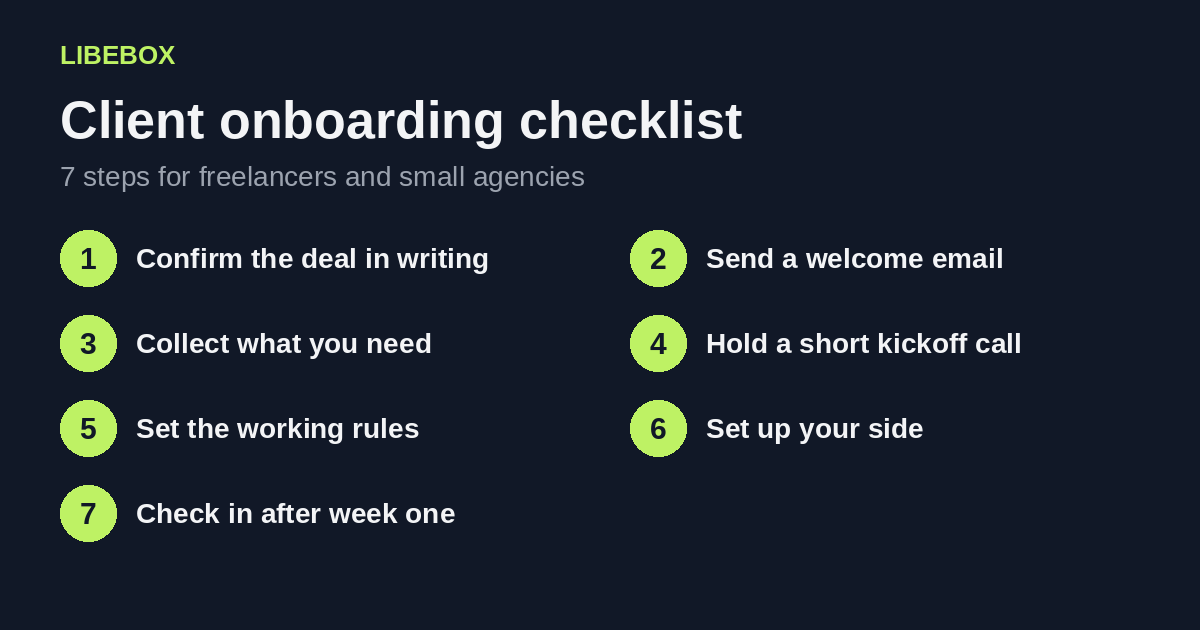
Step 1: Confirm the deal in writing
Before any work starts, make sure these are done:
- Proposal or contract signed
- Scope written down, including what is not included
- Price, payment dates, and deposit agreed
- Deposit invoice sent (and paid, if your terms say work starts after payment)
- Start date and expected delivery date confirmed
This is the base for everything else. If scope or payment is vague here, it will come back later.
Step 2: Send a welcome email
Send it the same day the deal is confirmed. It should tell the client three things: what happens next, what you need from them, and how to reach you. A template is below.
Step 3: Collect what you need
Ask for everything in one list, with a due date. Typical items:
- Access to accounts (website, hosting, ad accounts, analytics)
- Logo, brand colors, fonts, and any existing guidelines
- Content, photos, or reference material
- Names and roles of the people involved
- The one person who gives final approval
A quick tip on access: ask clients to share it through a password manager or a proper “add user” invite. Don’t ask for passwords by email or chat. It’s safer for both of you.
Step 4: Hold a short kickoff call
Keep it to 30 minutes. Cover:
- The goal of the project, in the client’s own words
- What “done” looks like
- The timeline and key dates
- Who approves what
- Anything that could cause delays
Send a short summary by email right after the call. That written summary is your record if anyone remembers things differently later.
Step 5: Set the working rules
This is where most small teams skip a step, and where many later arguments start. Agree on:
- How you communicate. One channel only, such as email or a shared project board.
- How fast you reply. For example, within one business day.
- How feedback works. One consolidated round of comments, sent by the person who approves.
- How many revision rounds are included. And what happens after that.
- How changes are handled. New requests get a short written quote before work starts (see how much scope creep really costs).
Say this in a friendly way. You’re not setting traps. You’re making the project easier for everyone.
Step 6: Set up your side
Before you start the real work:
- Create a project folder with a clear naming system
- Add the project to your tracker, with dates and the quoted hours
- Save the contract, scope, and kickoff summary in one place
- Put key dates in your calendar
The quoted hours matter. Without them you can’t see later whether the project is growing beyond its scope.
Step 7: Check in after the first week
Send a short update: what’s done, what’s next, and what you still need from the client. It shows progress and catches missing items early.
A welcome email you can copy
Subject: Welcome aboard, here’s what happens next
Hi [Name],
Thanks for choosing to work with me. I’m looking forward to getting started on [project].
Here’s what happens next:
- Kickoff call: [date and time], 30 minutes. I’ll send a calendar invite.
- What I need from you by [date]: [list: access, logo, content, approver name].
- How we’ll work: I’ll update you every [week/Friday]. Please send feedback in one consolidated message. I’ll reply within one business day.
- Timeline: First draft on [date], final delivery on [date].
If anything in the scope looks different from what you expected, tell me now so we can fix it early.
Thanks again,
[Your name]
If you want to automate parts of this later, see our guide to client onboarding tools and automation workflows.
How to know if your onboarding works
After your next project, ask yourself:
- Did I get everything I needed within the first week?
- Did the client know who approves what?
- Did we avoid “I thought that was included” moments?
If you answered no to any of them, add that item to the checklist. Over time it becomes a short, reliable routine.
This article is general business information, not legal advice. Have your contract template reviewed by a qualified professional in your country.
See where your business needs the most work
Onboarding is one of five areas that decide how smoothly a small business runs. If you want to see which one is holding you back, take the free Business Audit. It takes a few minutes and gives you a clear starting point.
Last updated: October 2026.